Specimen Collection
Clinical Conversation No. 4
The Angle Creep Mistake Students Don’t Notice Until They Miss
By Dorian Vale · 5 min read
Published for Phlebotomy Students and Future Clinicians
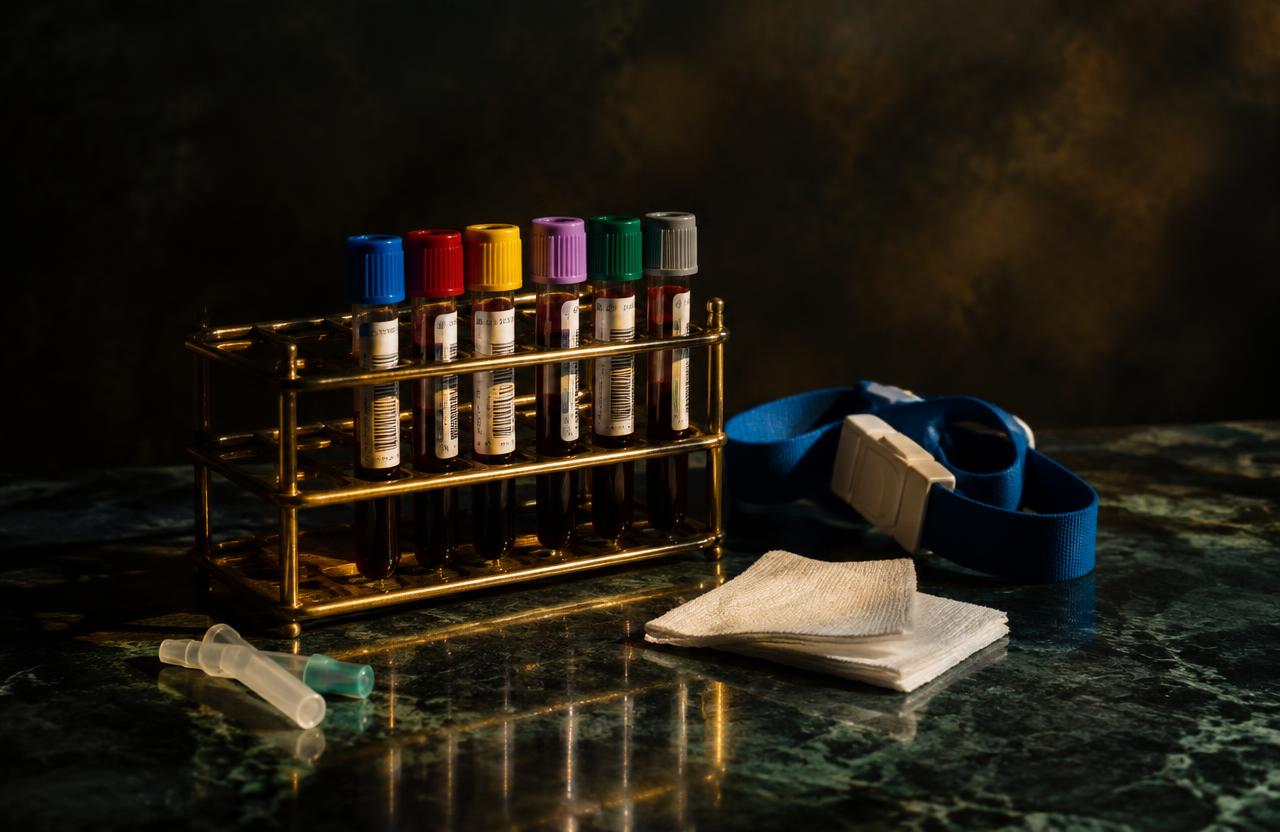
Three Tubes In
The flash came fast and clean, and the light-blue top filled right to the line. You eased it off, reached for the gold top, and pushed it onto the needle with a little more force than you meant to.
Somewhere in that push, the holder turned a few degrees in your fingers. The gold top started filling, slowed to a trickle, and then stopped halfway, while the patient watched you stare at a tube that wouldn’t move.
Most students believe the hard part of a draw is over the moment they see flash. The truth is that every tube change is a brand-new chance to lose the vein you already found.
A Few Degrees at the Dock
A boat that leaves the dock with its rudder turned two degrees off doesn’t look wrong at first. A mile out, it’s nowhere near where it was supposed to land, and nobody on board felt the moment it went off course.
Angle creep works the same way, and the reason is simple physics. The needle doesn’t know you’re done inserting — every push on a tube is a push on the needle. When the force of seating a tube travels through the holder instead of staying inside your hand, the bevel moves, even if your eyes never catch it.
Attention plays a part, too. Once blood is flowing, most students shift their focus to the tubes — the order of draw, the fill line, the next cap color — and the hand on the holder quietly stops being watched. A slight twist while gripping a tube, a push at an angle instead of straight along the needle’s line, and the holder rotates with nobody paying attention to it.
What One Twist Costs
A few degrees of rotation can press the bevel against the vein wall, pull it partly out, or push it toward the back wall. Flow slows or stops, and the student does what anyone would do — starts adjusting, which is exactly how one small twist becomes the over-correction spiral covered later in this series.
The math works against you, too. A five-tube draw means ten separate moments of pushing and pulling against a needle that’s sitting in someone’s vein, and each one is another chance for the angle to creep. More movement under the skin also means more discomfort for the patient and a higher chance of a hematoma.
Set Once. Commit.
Once the needle is seated and blood is flowing, the holder’s position is decided. Set once. Commit. Every tube change after that happens around the holder, never through it.
That means your needle hand has exactly one job for the rest of the draw: stay still. It isn’t steering, adjusting, or helping with tubes — it’s holding the angle you already chose while your other hand does all the moving.
A Holder That Doesn’t Move
These steps keep the force of every tube change inside your hand instead of traveling into the vein. Practice them on a training arm until they happen without thinking.
- Keep your needle hand on the holder the whole draw. If your training allows, rest the side of that hand lightly against the patient’s arm for extra stability.
- Push tubes in with your other thumb while your index and middle fingers press back against the holder’s flange. The push and the counter-push cancel out, so the needle stays put.
- Pull tubes out the same way: thumb braced against the flange, fingers drawing the tube straight back.
- Push straight along the line of the needle. Twisting a tube on or pushing at an angle is one of the most common ways the holder rotates.
- Between tubes, glance at the hub, not the label. If the holder’s angle has changed, that’s where you’ll see it first.
- Release the tourniquet gently once blood flow is established, and within about a minute of applying it, as your facility’s protocol directs. A rough release jostles the arm right when the needle is most exposed.
You Noticed the Hub
If a tube has ever stopped filling halfway and left you confused, that wasn’t random bad luck. You just found the part of the draw most students never think to watch — and once you’re watching it, it stops being a mystery.
Ask yourself these after your next multi-tube draw. They’ll tell you quickly whether the angle you set is the angle you kept.
Was my needle hand still during every tube change, or was it helping?
When I pushed a tube on, where did the force go — into my hand or into the needle?
Did I check the hub between tubes, or only the labels?
Save This for Your Next Five-Tube Draw
Save this article for the next time you have a long order of tubes ahead of you. Read the checklist once before you start, and when the gold top goes on, remember that the hard part isn’t over — it’s just quieter.
The full venipuncture sequence, from setting the angle to the last tube, is laid out step by step in Phlebotomy: The Veteran’s Field Manual. It’s built for the moments that look easy and quietly aren’t.
📘 Phlebotomy: The Veteran’s Field Manual
https://dorianvaleclinical.etsy.com/listing/4520590773
Set once. Commit. Let the tubes do the moving.
Educational disclaimer: This article is supplemental educational information and does not replace accredited training, current professional standards, institutional procedures, or supervised clinical instruction. Read the full disclaimer.
Related Articles
Clinical Techniques
The Anchor Mistake Students Don’t Notice Until It’s Too Late
How many times have you said those two words this month? The vein looked perfect, your angle felt right, and the moment the bevel touched it, the vein slid sideways like it had…
Read Article →
Clinical Techniques
The Wrist Freeze That Causes Students to Miss Veins
Your instructor demonstrates on the practice arm with the needle held so loosely it looks like it might slip out of her fingers. Her shoulders are down, her elbow hangs easy,…
Read Article →Clinical Mindset
The Depth Panic Mistake That Causes Students to Miss Perfect Veins
Before your last draw, could you have answered that question? Not in general terms from a textbook, but for that specific vein, in that specific arm, right before the needle…
Read Article →