Clinical Techniques
Clinical Conversation No. 11
The Thumb Lift Mistake
By Dorian Vale · 4 min read
Published for Phlebotomy Students and Future Clinicians
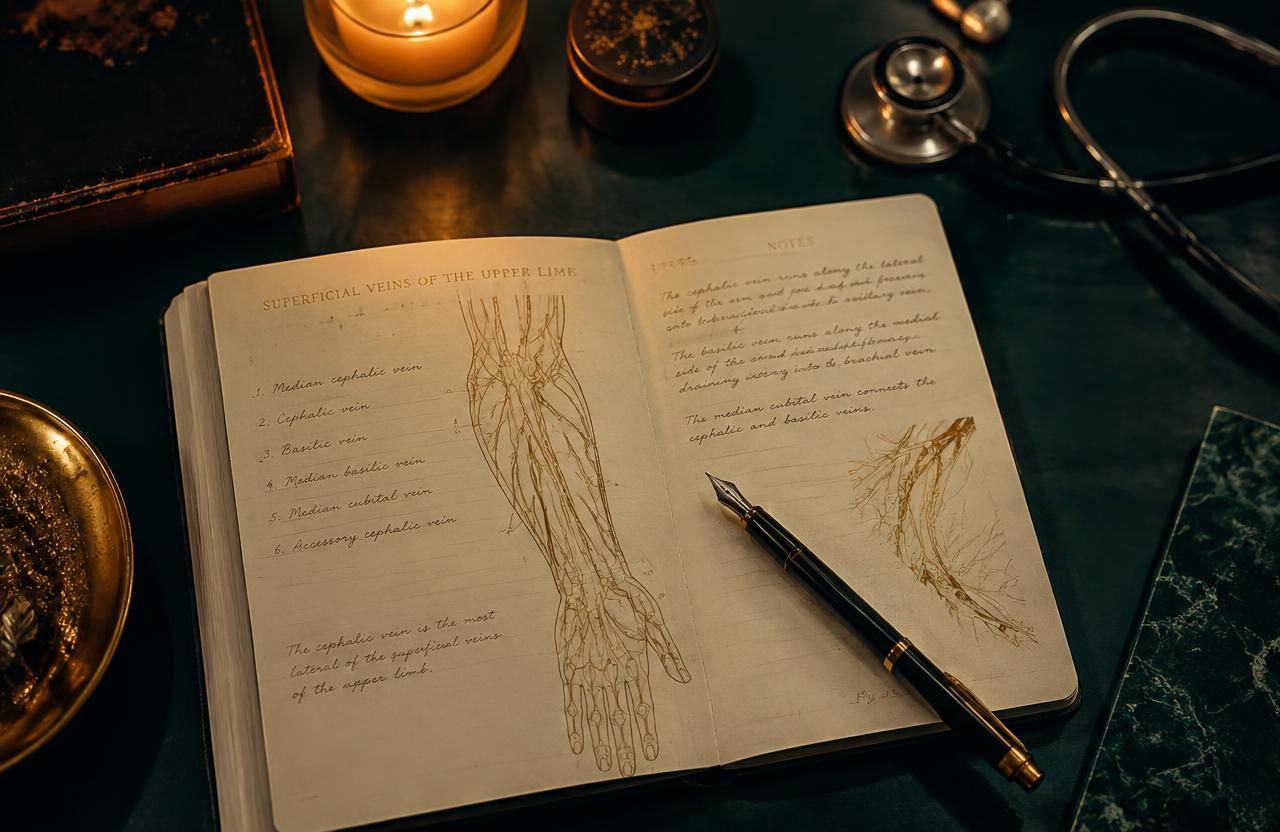
The Moment the Needle Moved
Your thumb is set two inches below the site, the skin pulled taut, and the vein sitting still exactly where you want it. You line up the bevel, take your breath, and start the insertion.
Somewhere in that half-second, your thumb eases up. You don’t decide to do it and you don’t feel it happen, but the skin loosens just enough for the vein to slide a few millimeters, and the needle arrives at the spot where the vein used to be.
Afterward, you’re sure the vein rolled. You didn’t lose the vein. You lost the thumb that was holding it.
Footing the Ladder
When someone climbs a tall ladder, the person footing it at the bottom has the easiest-looking job there is. They don’t climb or reach anything — they just stand there, holding still, while all the interesting work happens above them.
But if they let go the moment the climber starts up, the ladder shifts at the worst possible time. Your anchor thumb is footing the ladder, and the needle is the one climbing.
Why the Thumb Lets Go
Two hands doing two different jobs is hard for anyone, and under pressure attention narrows to whichever hand feels more important. At the moment of insertion, that’s always the needle hand, so the anchor hand slips out of awareness and starts to drift.
There are quieter reasons too. Some students lift their thumb slightly to get a better look at the site, some soften it because pulling on a patient’s skin feels unkind, and many relax everything at the first sign of flash — because flash feels like the finish line.
What One Small Lift Starts
A thumb that softens at insertion starts a chain the student rarely sees. The skin loosens, the vein shifts, the needle enters off its path, and the next move is usually a correction — the kind of redirecting that turns into chasing, and the kind of miss that gets blamed on the angle.
Letting go at flash causes its own trouble. The bevel has only just found the vein, the tube hasn’t been engaged yet, and a sudden release of skin tension can shift the needle right before blood starts to flow.
Passive Thumb vs. Active Anchor
A passive thumb is still touching the arm, but it isn’t doing anything — it’s resting there while your attention is somewhere else. It looks like an anchor from the outside, which is exactly why nobody catches it.
An active anchor is still holding tension: still pulling the skin taut toward the wrist, still keeping the vein in place, still doing its job while the needle does its own. You can feel the difference in your own hand once you know to look for it.
The anchor stays active from before insertion until blood is flowing into the tube. Flash is not the release signal — flow is. Once blood is flowing, your anchor hand is free to move on to tube changes.
Keeping the Thumb Awake
These steps make the anchor something you check on purpose instead of something you hope is still there. Practice them until the active thumb feels normal.
- Before insertion: confirm the anchor is actually holding — the vein shouldn’t slide when you nudge its side.
- Give yourself room to see: an anchor one to two inches below the site leaves space to watch the insertion without lifting your thumb.
- Use a one-word cue: if you say anything to yourself at the moment of entry, make it “thumb.”
- Hold through flash: keep the tension until blood is flowing into the tube, then move your anchor hand to the tubes.
- In practice lab: put a small strip of tape on the training arm where your thumb anchors. After each insertion, check whether your thumb is still on it.
A Fixable Habit, Not a Flaw
If your thumb has been letting go, that doesn’t mean your hands aren’t made for this. It means your attention went where it felt most needed, which is exactly what attention is supposed to do — it just needs to learn to hold two jobs at once.
That skill builds quickly once you start checking for it. Ask yourself these after your next few draws.
At the moment of insertion, could I feel my thumb, or only the needle?
Did I relax my anchor at flash, or wait until blood was flowing?
Have I ever lifted my thumb just to get a better look at the site?
Anchor First. Insert Second. Thumb Stays.
The full anchoring sequence — where to place it, how much tension to use, and how long to hold it — is laid out step by step in Phlebotomy: The Veteran’s Field Manual, alongside the insertion technique it protects. Each step only works as well as the one holding it in place.
Once your thumb stays active on its own, a lot of “rolling veins” quietly stop rolling. The needle finally gets to arrive where you aimed it.
📘 Phlebotomy: The Veteran’s Field Manual
https://dorianvaleclinical.etsy.com/listing/4520590773
Anchor first. Insert second. Thumb stays.
Educational disclaimer: This article is supplemental educational information and does not replace accredited training, current professional standards, institutional procedures, or supervised clinical instruction. Read the full disclaimer.
Related Articles
Clinical Techniques
The Anchor Mistake Students Don’t Notice Until It’s Too Late
How many times have you said those two words this month? The vein looked perfect, your angle felt right, and the moment the bevel touched it, the vein slid sideways like it had…
Read Article →
Clinical Techniques
The Wrist Freeze That Causes Students to Miss Veins
Your instructor demonstrates on the practice arm with the needle held so loosely it looks like it might slip out of her fingers. Her shoulders are down, her elbow hangs easy,…
Read Article →Clinical Techniques
The Vein Didn’t Disappear. Your Anchor Changed.
Most students believe disappearing veins are just bad luck — some patients have them, some don’t, and there’s not much you can do about it. Then they watch it happen enough…
Read Article →